This article relates my journey to build scripting.tips using the static website generator Pelican. I wrote it as a quick overview of how you can build your own website using Pelican.
There is another popular static website generator named
 .
I used it for my other websites, by it is
written in ruby and I preferred to go full python for scripting.tips.
.
I used it for my other websites, by it is
written in ruby and I preferred to go full python for scripting.tips.
Since I don't know anything about Pelican, my first step is to type pelican quickstart into Google. And here we need to be careful because older versions are listed first in the search results... Which is exactly why I think we should have a search engine dedicated to programming libraries and tools, which would only list top-notch tutorials, documentation and articles. Anyway, let's focus on our task.
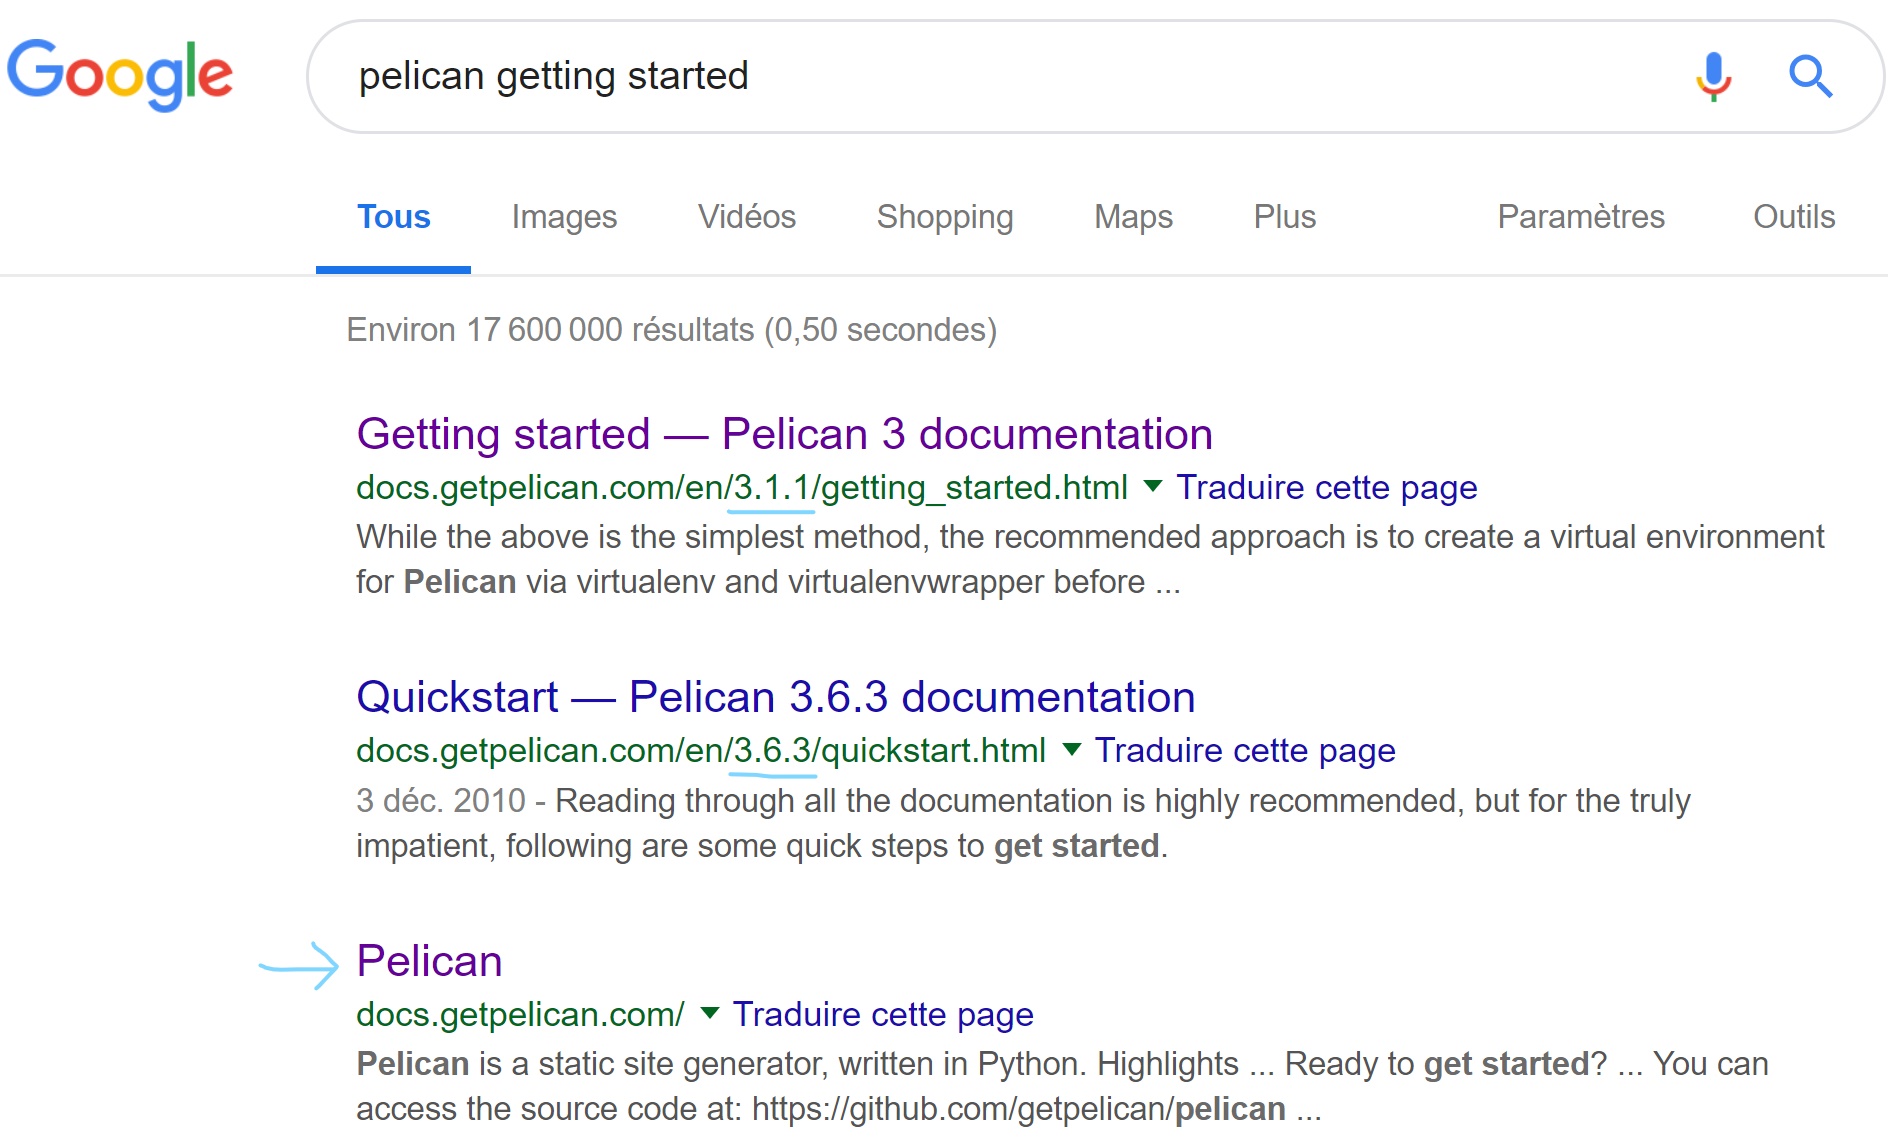
The documentation for the latest version of Pelican can be found on the official website, on the stable branch. I'm going to follow the quickstart and superficially read the doc to spot where I can find the information when I need it.
At the time of this writing, the latest version is Pelican 4.0.1.
So, how involved is it to start a pelican project? Here's what I had to type in my bash terminal.
pip install pelican markdown
mkdir ~/src/pelican && cd ~/src/pelican
pelican-quickstart
vim content/hello-world.md
The minimal content in an article is the following meta-data:
Title: My super title
created: 2018-12-03 10:20
Then build and run the website using:
pelican content
pelican --listen
sensible-browser http://localhost:8000/
On my dell XPS 9570 (4k), and with only one article (this one), it takes
2.16 seconds for the first build and 0.3 seconds for subsequent builds.
Here is what pelican content outputs:
Processed 1 article, 0 drafts, 0 pages,
0 hidden pages and 0 draft pages in 2.16 seconds.
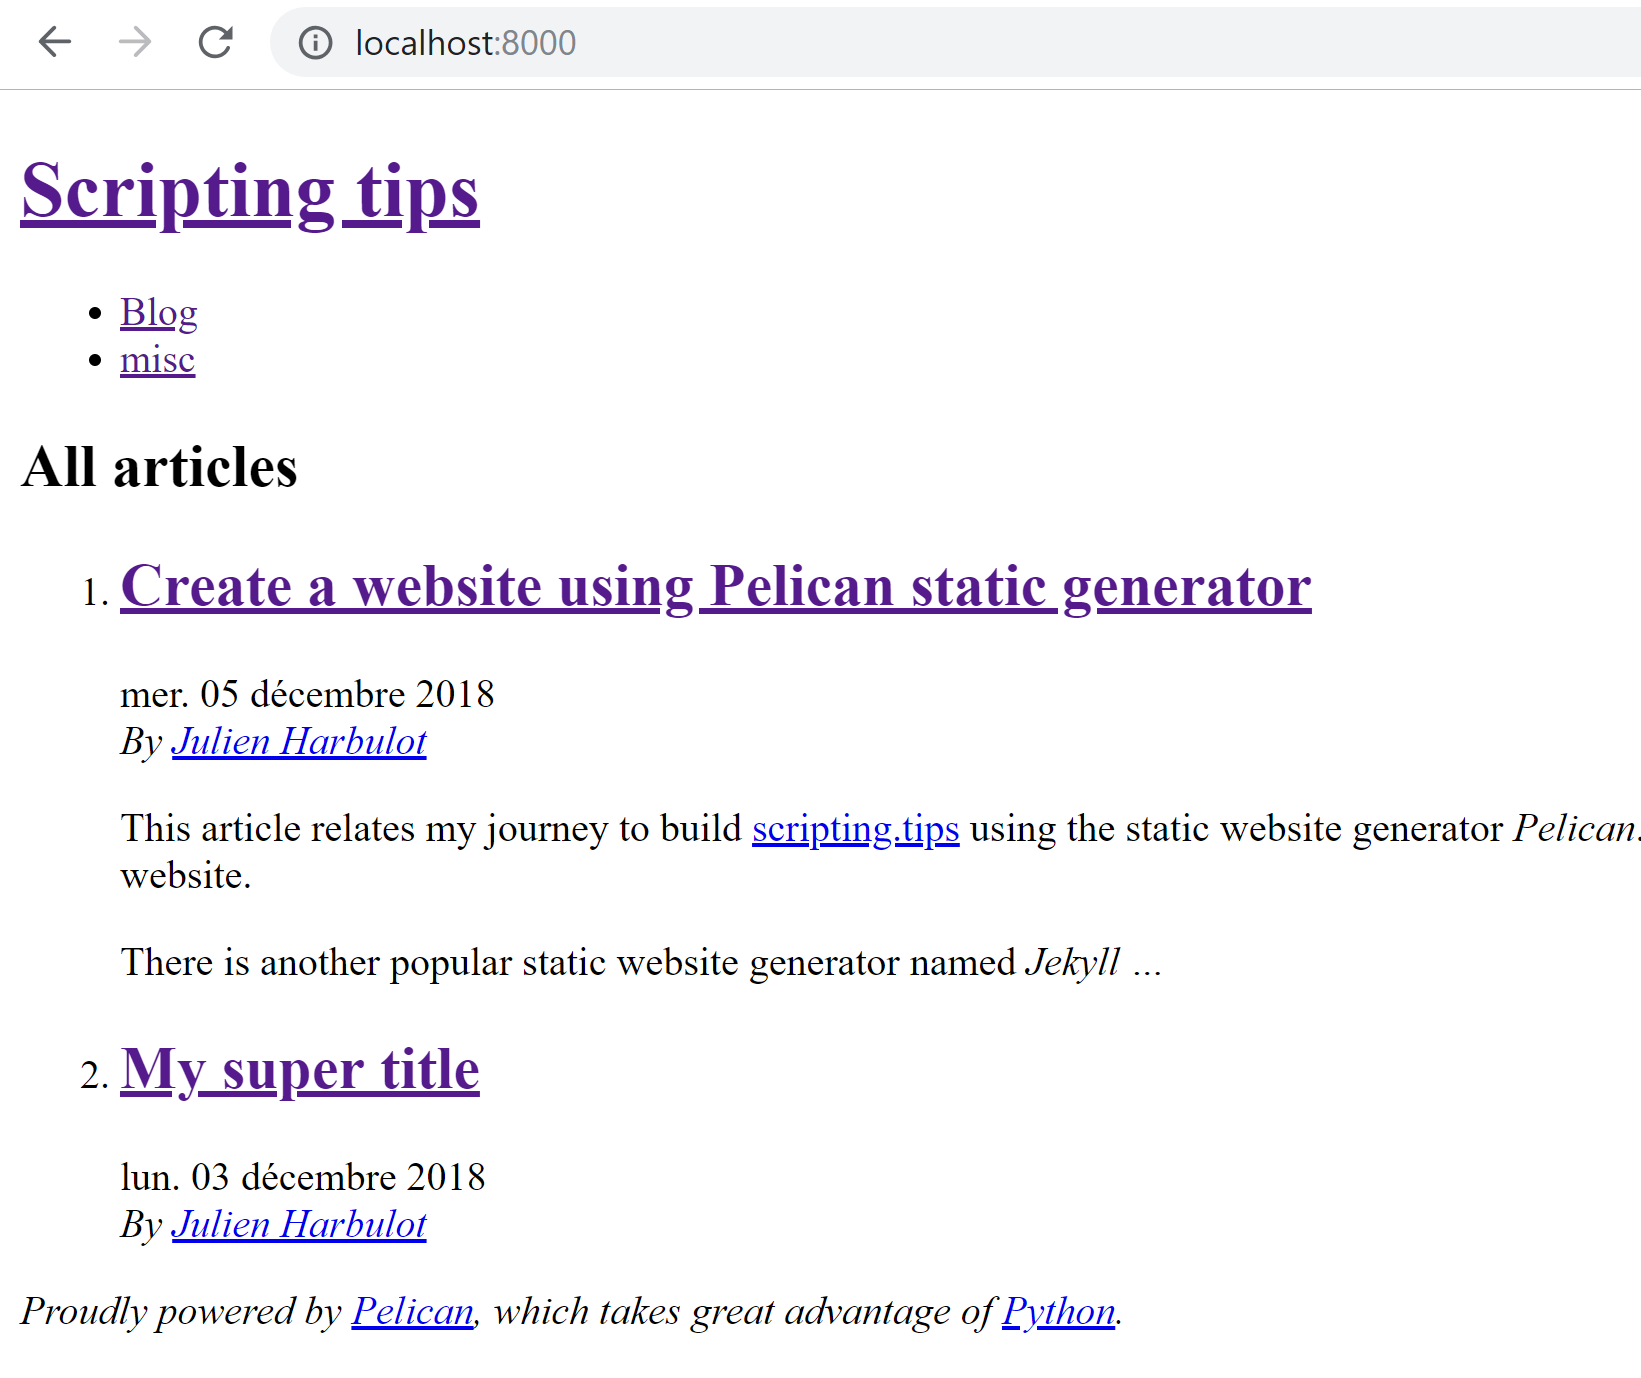
The default layout is not sexy but decent and functional. Here is what the page looks like (I've added some text to the page content).

Setting up a writing environment
To setup an environment where we can write an article and watch the output in the browser, we can use the following command:
pelican -lr
Or use the Makefile generated by pelican-quickstart:
make devserver
By the way, on linux you can open your browser with this command:
sensible-browser http://localhost:8000/
One of the major drawbacks of static generation is the build time. It's daunting to wait more than 10 seconds to see what you've just typed in your browser.
Here's the good news: you can watch and regenerate a single page using the --write-selected option! Which is great to minimize build time. You can also instruct pelican to only read modified content.
Write your first (real) article
To write a new article, create a file in the folder ./content. Mardown files
should be structured as follow:
Title: My super title
created: 2018-12-03 10:20
Modified: 2018-12-05 19:30
categories: Python
Tags: pelican, publishing
Slug: my-super-post
Authors: Julien Harbulot, Someone Else
Summary: Short version for index and feeds

# Title
This is the content of my super blog post.
You can use usual markdown in there.
More info on the metadata fields here.
Only the Title and Date fields are required.
So, how do we do the basic stuff that we always need to do, such as adding hyperlinks? Here's the syntax to link to internal files:
# Link to an article inside the `content` directory:
[an article]({ filename }some-article.md)

# Link to static files outside the `content` directory:
[an image]({ static }/images/logo.jpg)
There also the possibility to translate articles. And you can turn on syntax highlighting in code blocks using this special syntax. If you dislike the syntax and want to use backticks as in Github flavored markdown, check the bonus section at the end of this article.
Actually, there's a lot more that can be done, so here's the doc to tweak advanced settings.
Change the default template
To change themes, edit the file pelicanconf.py in the project's root and
set the THEME variable. Here are several examples:
# Specify name of a built-in theme
THEME = "notmyidea"

# Specify name of a theme installed via the pelican-themes tool
THEME = "chunk"

# Specify a customized theme, via path relative to the settings file
THEME = "themes/mycustomtheme"

# Specify a customized theme, via absolute path
THEME = "/home/myuser/projects/mysite/themes/mycustomtheme"
I will create my own custom theme.
Create an html/css theme
Okay, so now we know how to write articles and display them in the browser. Next step is to use a better html design.
To create our own theme, we need to use jinja2 template. The idea is to use a simple syntax that we can embed into our HTML pages.
To build a theme, we must create the following files inside the themes folder.
theme-name
├── static
│   ├── css
│   └── images
└── templates
    ├── archives.html         // to display archives
    ├── period_archives.html  // to display time-period archives
    ├── article.html          // processed for each article
    ├── author.html           // processed for each author
    ├── authors.html          // must list all the authors
    ├── categories.html       // must list all the categories
    ├── category.html         // processed for each category
    ├── index.html            // the index (list all the articles)
    ├── page.html             // processed for each page
    ├── tag.html              // processed for each tag
    └── tags.html             // must list all the tags.
A quick way to get started with the template engine is to clone the example theme and edit the html/css according to your taste.
Here's how I did it (recall that my project's root is named pelican/):
mkdir themes
cd ../
git clone [email protected]:getpelican/pelican.git pelican-src
cp -r pelican-src/pelican/themes/simple pelican/themes/v1
cd pelican
We need to tell pelican that we want to use this theme. To do so, edit the
file pelicanconf.py at the root of the project and set the variable THEME
to:
THEME='themes/v1'
Then print pelican's configuration using the terminal command:
pelican --print-settings | grep "'THEME'"
Here is how my website looks like with this new "simple" theme:
Now open the files in the ./themes/v1/ folder and start hacking! Here is a
useful link: variables available to the template engine.
If you're completely new to all this, my advice is to try and change a few simple things in the code to see how the website reacts. It's a continuous back and forth between tweaking the code and looking at the output in the browser. When you're not sure what a piece of code is for, comment it or remove it and see what happens. If nothing particularly bad happens, paste the removed snippet somewhere safe in case you need it later and go hack something else.
To build my theme, I'm going to remove most of the code in the snippet. I don't
need to use variables such as SITENAME and SITETITLE because I'm not
building a theme for everyone so it doesn't need to be generic.
... scripting and tweaking ...
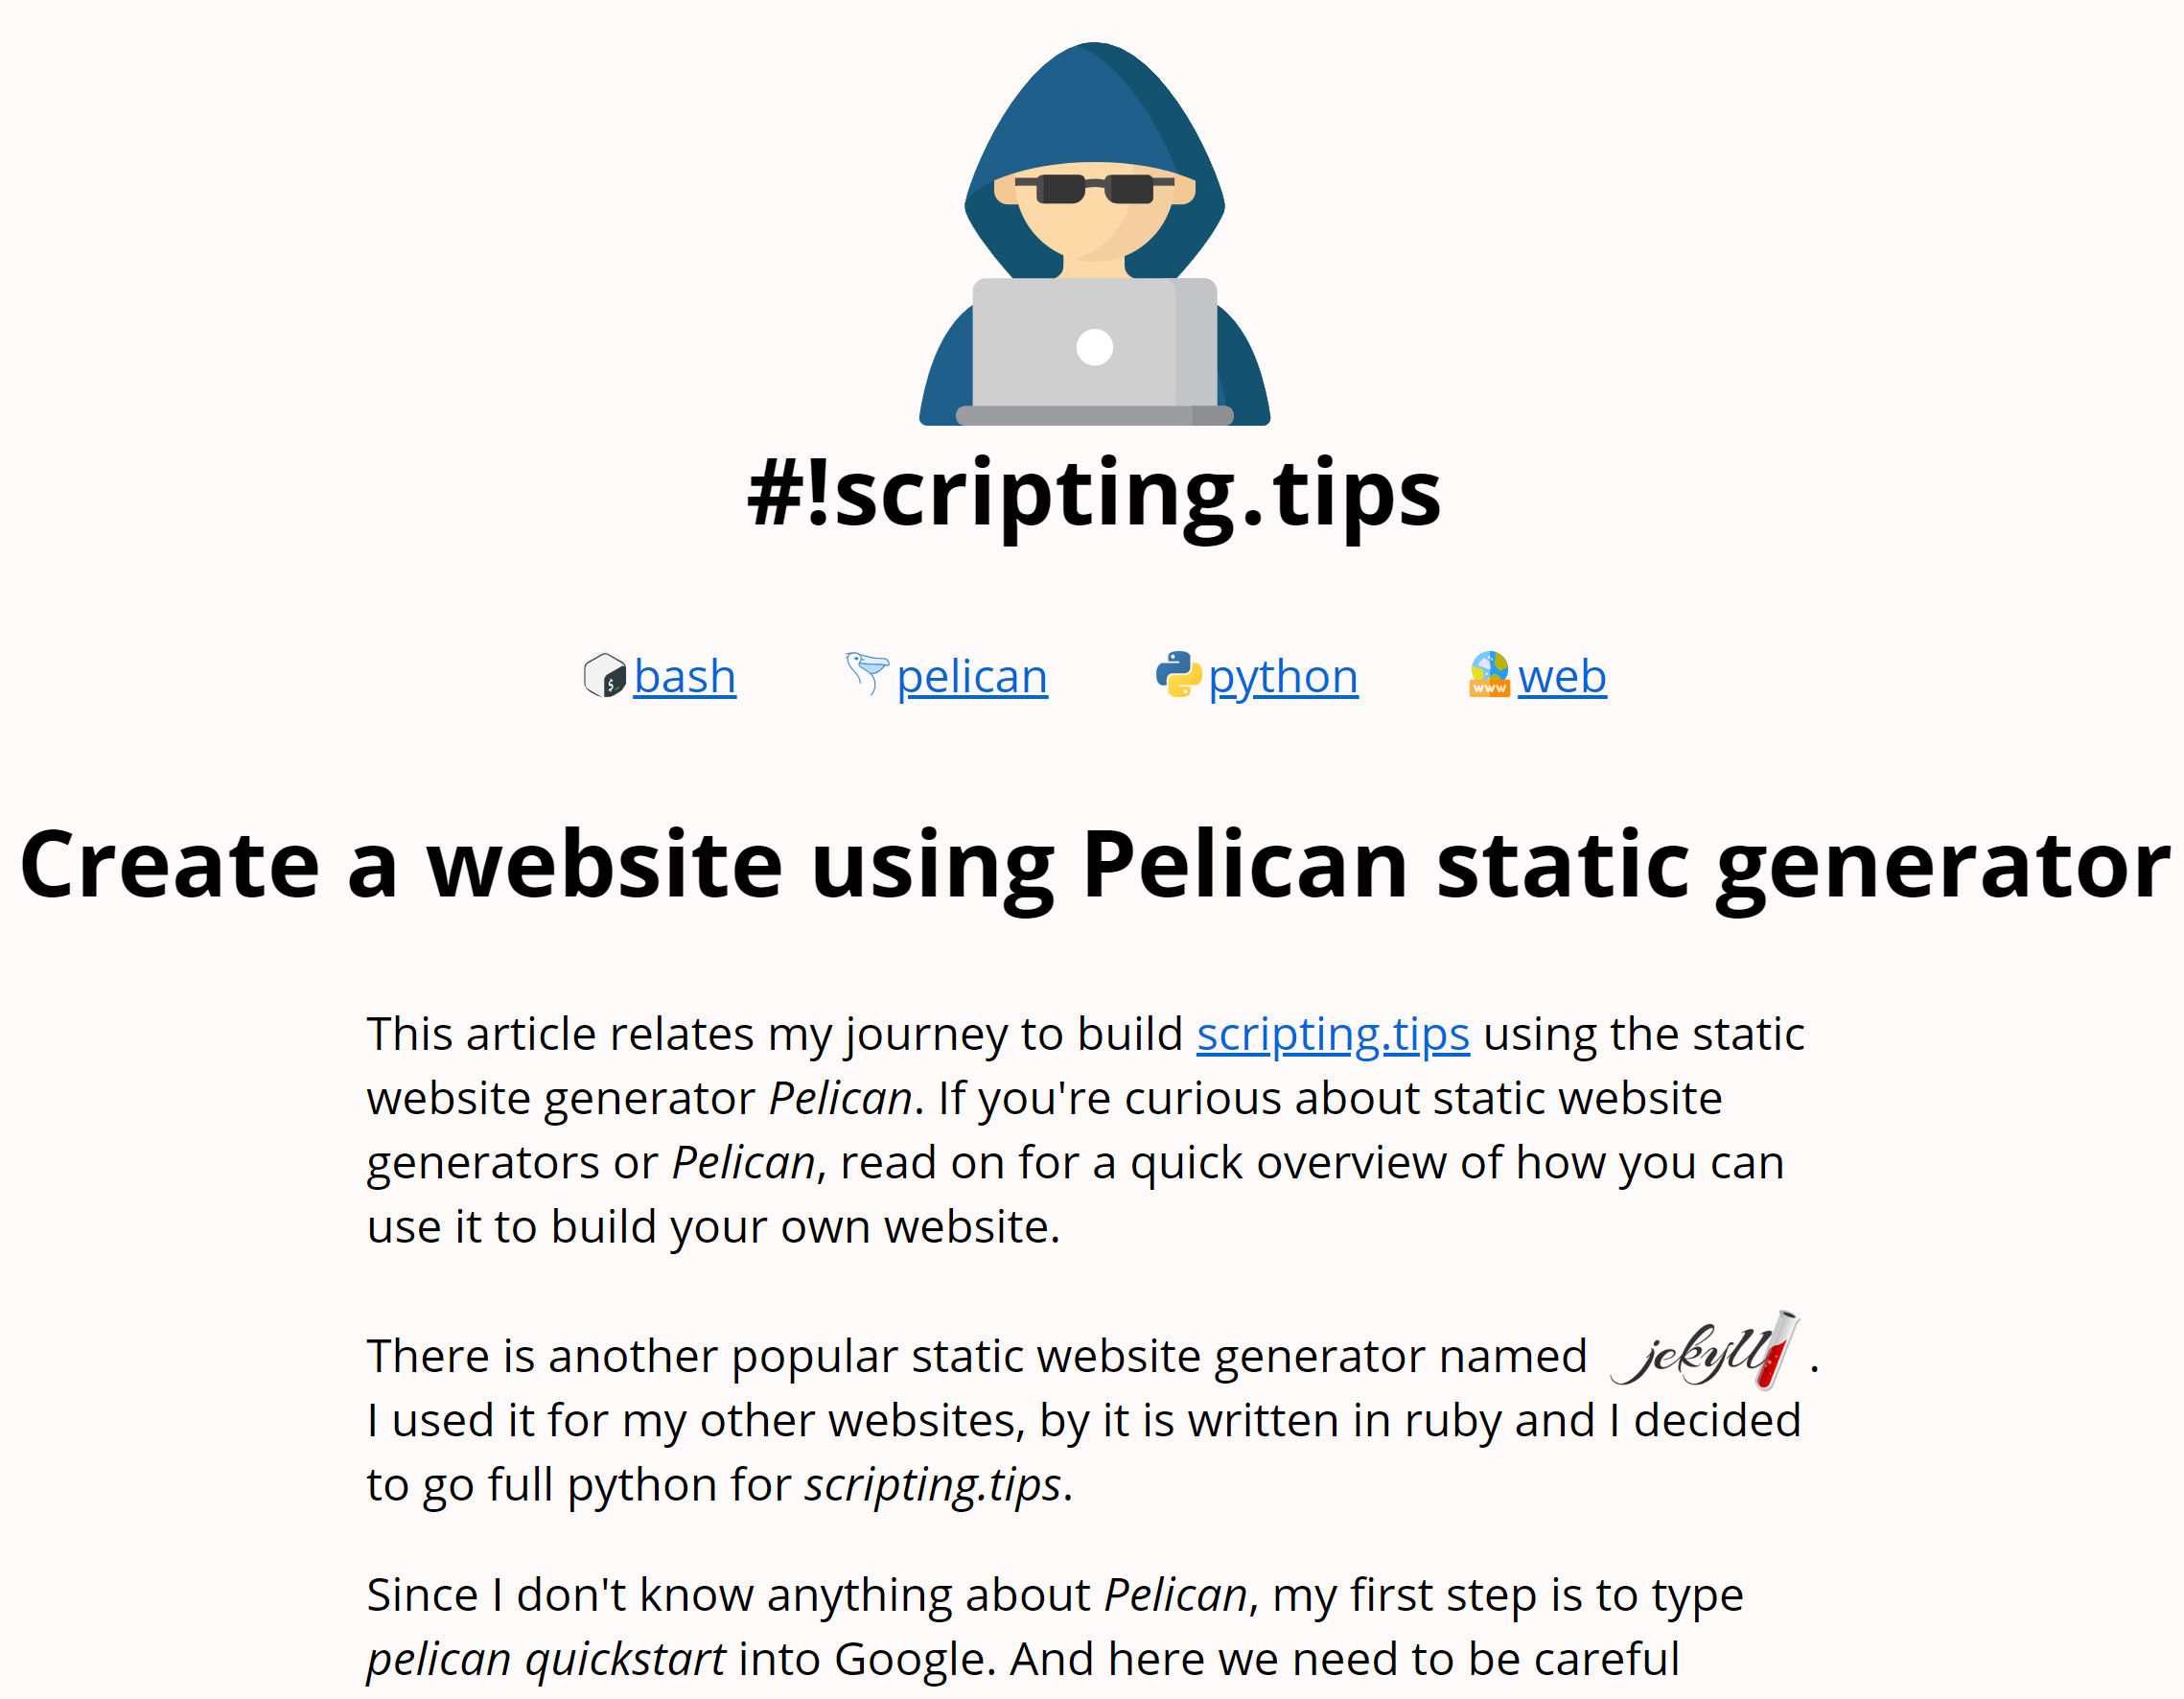
Done! Here's my first design:
Publish your website to Github Pages
Github pages can
serve html content from the docs/ folder in the master branch. To enable
this, create a docs folder at the root of your project and on github.com, go
to the settings tabs.
To tell Pelican to generate the output in the docs/ folder rather than the
output/ folder, add this line to your pelicanconf.py:
OUTPUT_PATH = 'docs/'
Then build the website and publish it with:
pelican content -s publishconf.py
git add docs/
git commit -m "Publish"
Note: currently there is an issue with the "simple" template and the command above will output the following error:
CRITICAL: TypeError: not all arguments converted during string formatting
To avoid it, run the command without the -s publishconf.py option.
Bonus: allow fenced code blocks
A fenced code block is a block of code surrounded by three backticks:
   ```java
   class Hello {
       private String who = "world";
   }
To allow this syntax within your markdown articles, edit the `pelicanconf.py`
file and add the following snippet, which tells Pelican to activate the
[fenced_code](https://python-markdown.github.io/extensions/fenced_code_blocks/)
and [codehilite](https://python-markdown.github.io/extensions/code_hilite/)
extensions within the markdown engine.
```python
# file: pelicanconf.py
MARKDOWN = {
'extension_configs': {
'markdown.extensions.codehilite': {'css_class': 'hll'},
'markdown.extensions.extra': {},
'markdown.extensions.meta': {},
'markdown.extensions.fenced_code': {},
},
'output_format': 'html5',
}
You can activate other extensions in the same way.